Table of Content

Seasonal Tire Changes

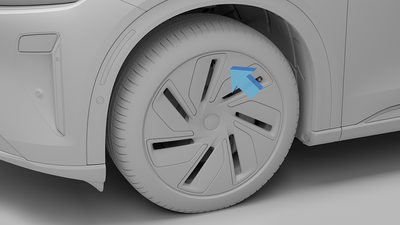
Your Lucid Gravity may use 22/23" summer tires and 20/21" winter tires. Several vehicle systems rely on knowing the wheel size, so a system update is required whenever swapping wheels of different sizes.

Wheel Swap Preferred Method: Lucid Service Center

If possible, it is best to schedule your wheel swap with a Lucid Service Center. They will complete the entire procedure for you, including making the physical swap, resetting the TPMS, and updating the vehicle software to recognize the new wheel sizes.

Swapping the Wheels Yourself

Depending on where your seasonal tires are stored, you may find it more convenient to perform the swap yourself. After you swap the wheels, you must update the vehicle software. You may do this yourself by following the prompts on the Pilot Panel or schedule a visit with Lucid Service Center to complete the procedure.

Warning: When lifting your vehicle, make sure you follow all jacking safety instructions.
Note: There is no danger driving the vehicle after swapping wheels but before updating vehicle software. However, you may notice minor dependencies with some systems such as a slightly inaccurate speedometer and odometer.

Whenever swapping a different tire size, the tire size information must be updated. To do this:

  1. Go to Settings > Vehicle .
  2. Open Tires page.
  3. Choose Select Installed Tires page.
  4. Enter your Profile PIN.
  5. Choose Select Front Tires or Select Rear Tires.
  6. Select the new tire size.
Note: Tire Pressure Monitoring System (TPMS) settings reset after driving the vehicle for about 10 minutes.

Tire Swapping FAQs

  1. After swapping tires, the tire pressure information is not displayed correctly.

    The vehicle must be driven about 10 minutes for the TPMS information to get updated.

  2. The newly installed tire size does not show up in the list of available tire sizes.

    The new tire size is not approved by Lucid. Only Lucid-approved tire sizes should be installed. See Contacting Lucid Motors for more information.

  3. An error occurs when attempting to update the tire size.

    Wait a few minutes, then try again.

Removing and Installing Wheel Trim Covers

Note: Not all wheel trim pieces are removable only One-Piece wheel trim covers will have removable covers.

Removing One-Piece Wheel Trim Covers

  1. Locate the valve stem on the wheel trim cover spoke, which is typically located on the outer edge of the wheel, near the tire.
  2. Starting with one spoke, pull on the outer edge of the spoke to release. Repeat for each spoke until all of them are released.
    CAUTION: Too much force might damage the wheel trim cover spoke. Pull gently with force.
  3. Once all the spokes are released, remove the wheel trim cover.
  4. Once all spokes are removed, the central clipping mechanism also needs to be removed/detached from the wheel. It is recommended to grip two adjacent spokes and pull in the direction of the axis of the wheel.

The removed wheel inserts can be stored away for later re-installation, if desired. Clean the removed parts prior to storage for ease of handling when re-installing.

Installing One-piece Wheel Trim Covers

  1. Secure all wheel insert spokes to the wheel by ensuring each one clips into place.
  2. Install the center section of the cover first until you hear or feel the wheel cover clip into place.
    Note: Make sure to align the valve stem hole in the correct location.
  3. To prevent wheel inserts from falling off while driving, check that all spokes are fully secured before driving.

Installing Orion One-piece Wheel Trim Covers

  1. Inspect and ensure all metallic springs are present in the spoke clips along with the central retention clip.
  2. Secure all wheel inserts spokes to the wheel by pressing each clip into place. Clip each spoke in a star pattern before clipping the center.
  3. Clip the center section of the insert until a click is heard and felt.
  4. Before driving, ensure that all spokes are fully secured.
CAUTION: When re-installing the 7 spoke, Orion wheel insert, check the final assembly to ensure the insert (left arrow) is below the surface of the surrounding wheel (right arrow).


If the Insert is above the surface of the surrounding wheel (shown below) the insert is NOT properly seated.


Seating the wheel insert correctly may require substantial force.